


How To Change RDP Port Number In Windows
– Log in to the server with administrator access.
– Go to Control panel and Click on firewall.
– Select Allow a Program Through windows firewall.
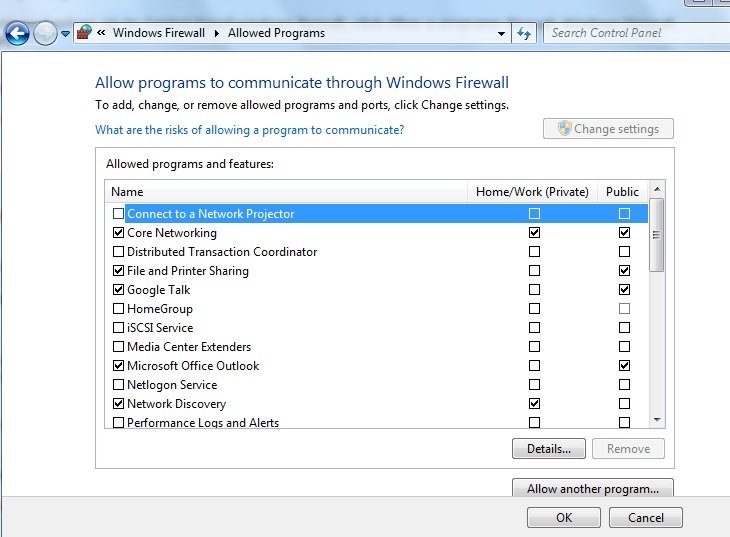
– From this option enable the service and add the new port number.
– Save the firewall Settings.
– Now click on start —-> Run
– Eneter regedit.
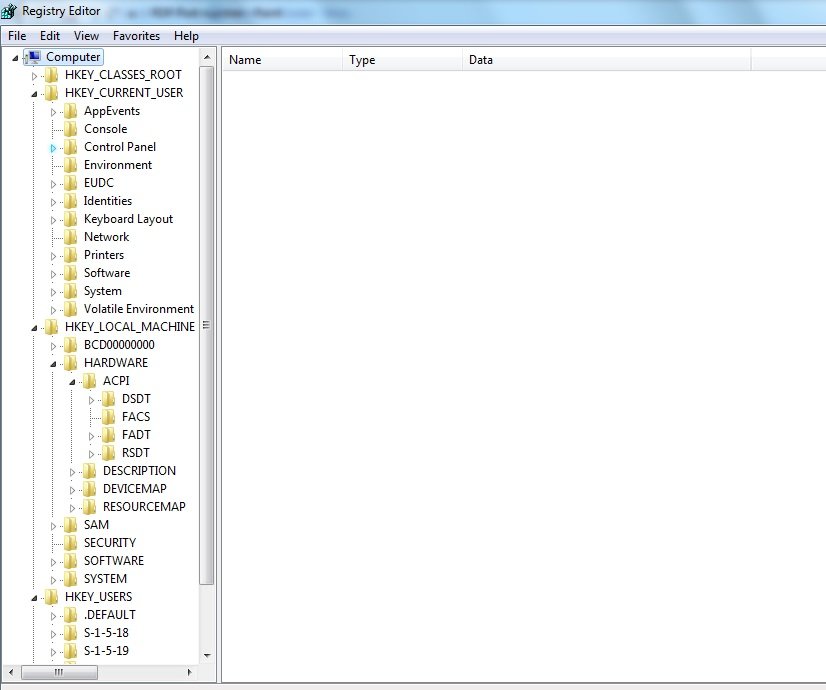
– Registry values will open.
– Now locate the RDP registry entry in the window,
HKEY_LOCAL_MACHINE\System\CurrentControlSet\Contro l\TerminalServer\WinStations\RDP-Tcp\PortNumber
– Go to edit and modify the port number 3389 to new port number.
– Now save and quit from the window.
– Again to go run and enter the below command.
regupdate.
– Now restart the server and try to connect from client machine.
Tags:RDP,RDP port,RDP port Number,Windows,Linux,RDP Port Number.


Add Comment